
Here are artistic illustrations by Mr. Akihiro Ikeshita requested by Hayabusa2 Project.
Please refer to the rules below when you would like to use them.
・Copy right of these illustrations belongs to Mr. Ikeshita. (©Akihiro Ikeshita)
・These materials can be used freely for personal use, or contact Mr. Ikeshita for outside personal use.
(Contact to Mr. Ikeshita
 )。
)。
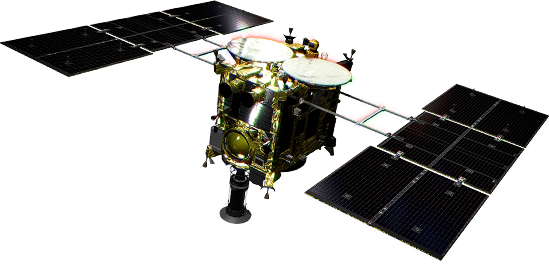
 Hayabusa2 Single1
 Hayabusa2 Single2
 Hayabusa2 Single3
 Hayabusa2 Single4
 Departure1
 Departure2
 Swing-by
 Rendezvous Initial version
 Rendezvous 2019 version
 Touchdown1 Initial version
 Touchdown1 2019 version
 SCI Separation1 Initial version

SCI Separation1 2020 version
 SCI Separation2 Initial version

SCI Separation2 2020 version
 Evacuation Initial version

Ejector and DCAM3
 Touchdown2 Initial version

Touchdown2 2020 version
 Re-Entry Capsule Release

Re-Entry Capsule Release 2020 version

・Copyright of all the illustrations below belongs to JAXA (@JAXA)

Various Faces of Haya2-kun①
Various Faces of Haya2-kun① (Background transparent)

Do My Best! Haya2-kun
Do My Best! Haya2-kun (Background transparent)

Going Down! Haya2-kun
Going Down! Haya2-kun(Background transparent)

I'm going! Haya2-kun
I'm going! Haya2-kun (Background transparent)
 Various Faces of Haya2-kun ②

Posing Haya2-kun
Posing Haya2-kun (Background transparent)

I'm going! Haya2-kun ②
I'm going! Haya2-kun ② (Background transparent)

Haya2-kun from behind
Haya2-kun from behind (Background transparent)

Single Haya2-kun
Single Haya2-kun (Background transparent)

Haya2-kun with Friends
Haya2-kun with Friends (Background transparent)

Haya2-kun with Friends in Space①

Haya2-kun with Friends in Space②

Haya2-kun with Friends in Pink

Various Faces of MINERVA2-1 (Rover-1A and Rover-1B)

Hop!MINERVA2-1 (Rover-1A とRover-1B)

Zzz... MINERVA2-1 (Rover-1A and Rover-1B)

Do My Best MINERVA2-1 (Rover-1A and Rover-1B)

Various Faces of MINERVA2-2 (Rover-2)

Zzz... MINERVA2-2 (Rover-2)

Smiling MINERVA2-2 (Rover-2)

Laugh!MINERVA2-2 (Rover-2)

Various Faces of MASCOT

I'm Focusing on!MASCOT

Do My Best!MASCOT

Having Fun!MASCOT

Various Faces ofSCI

Wink! SCI

Laugh!SCI

Do My Best!SCI

Various Faces of DCAM3

Laugh! DCAM3

Looking Carefully! DCAM3

I Made It! DCAM3

Do My Best!Re-Entry Capsule

・Illustrations created by Shikishima Fugen(@shikishima https://twitter.com/shikishima)
・Copyright of all the illustration below belongs to JAXA(©JAXA)

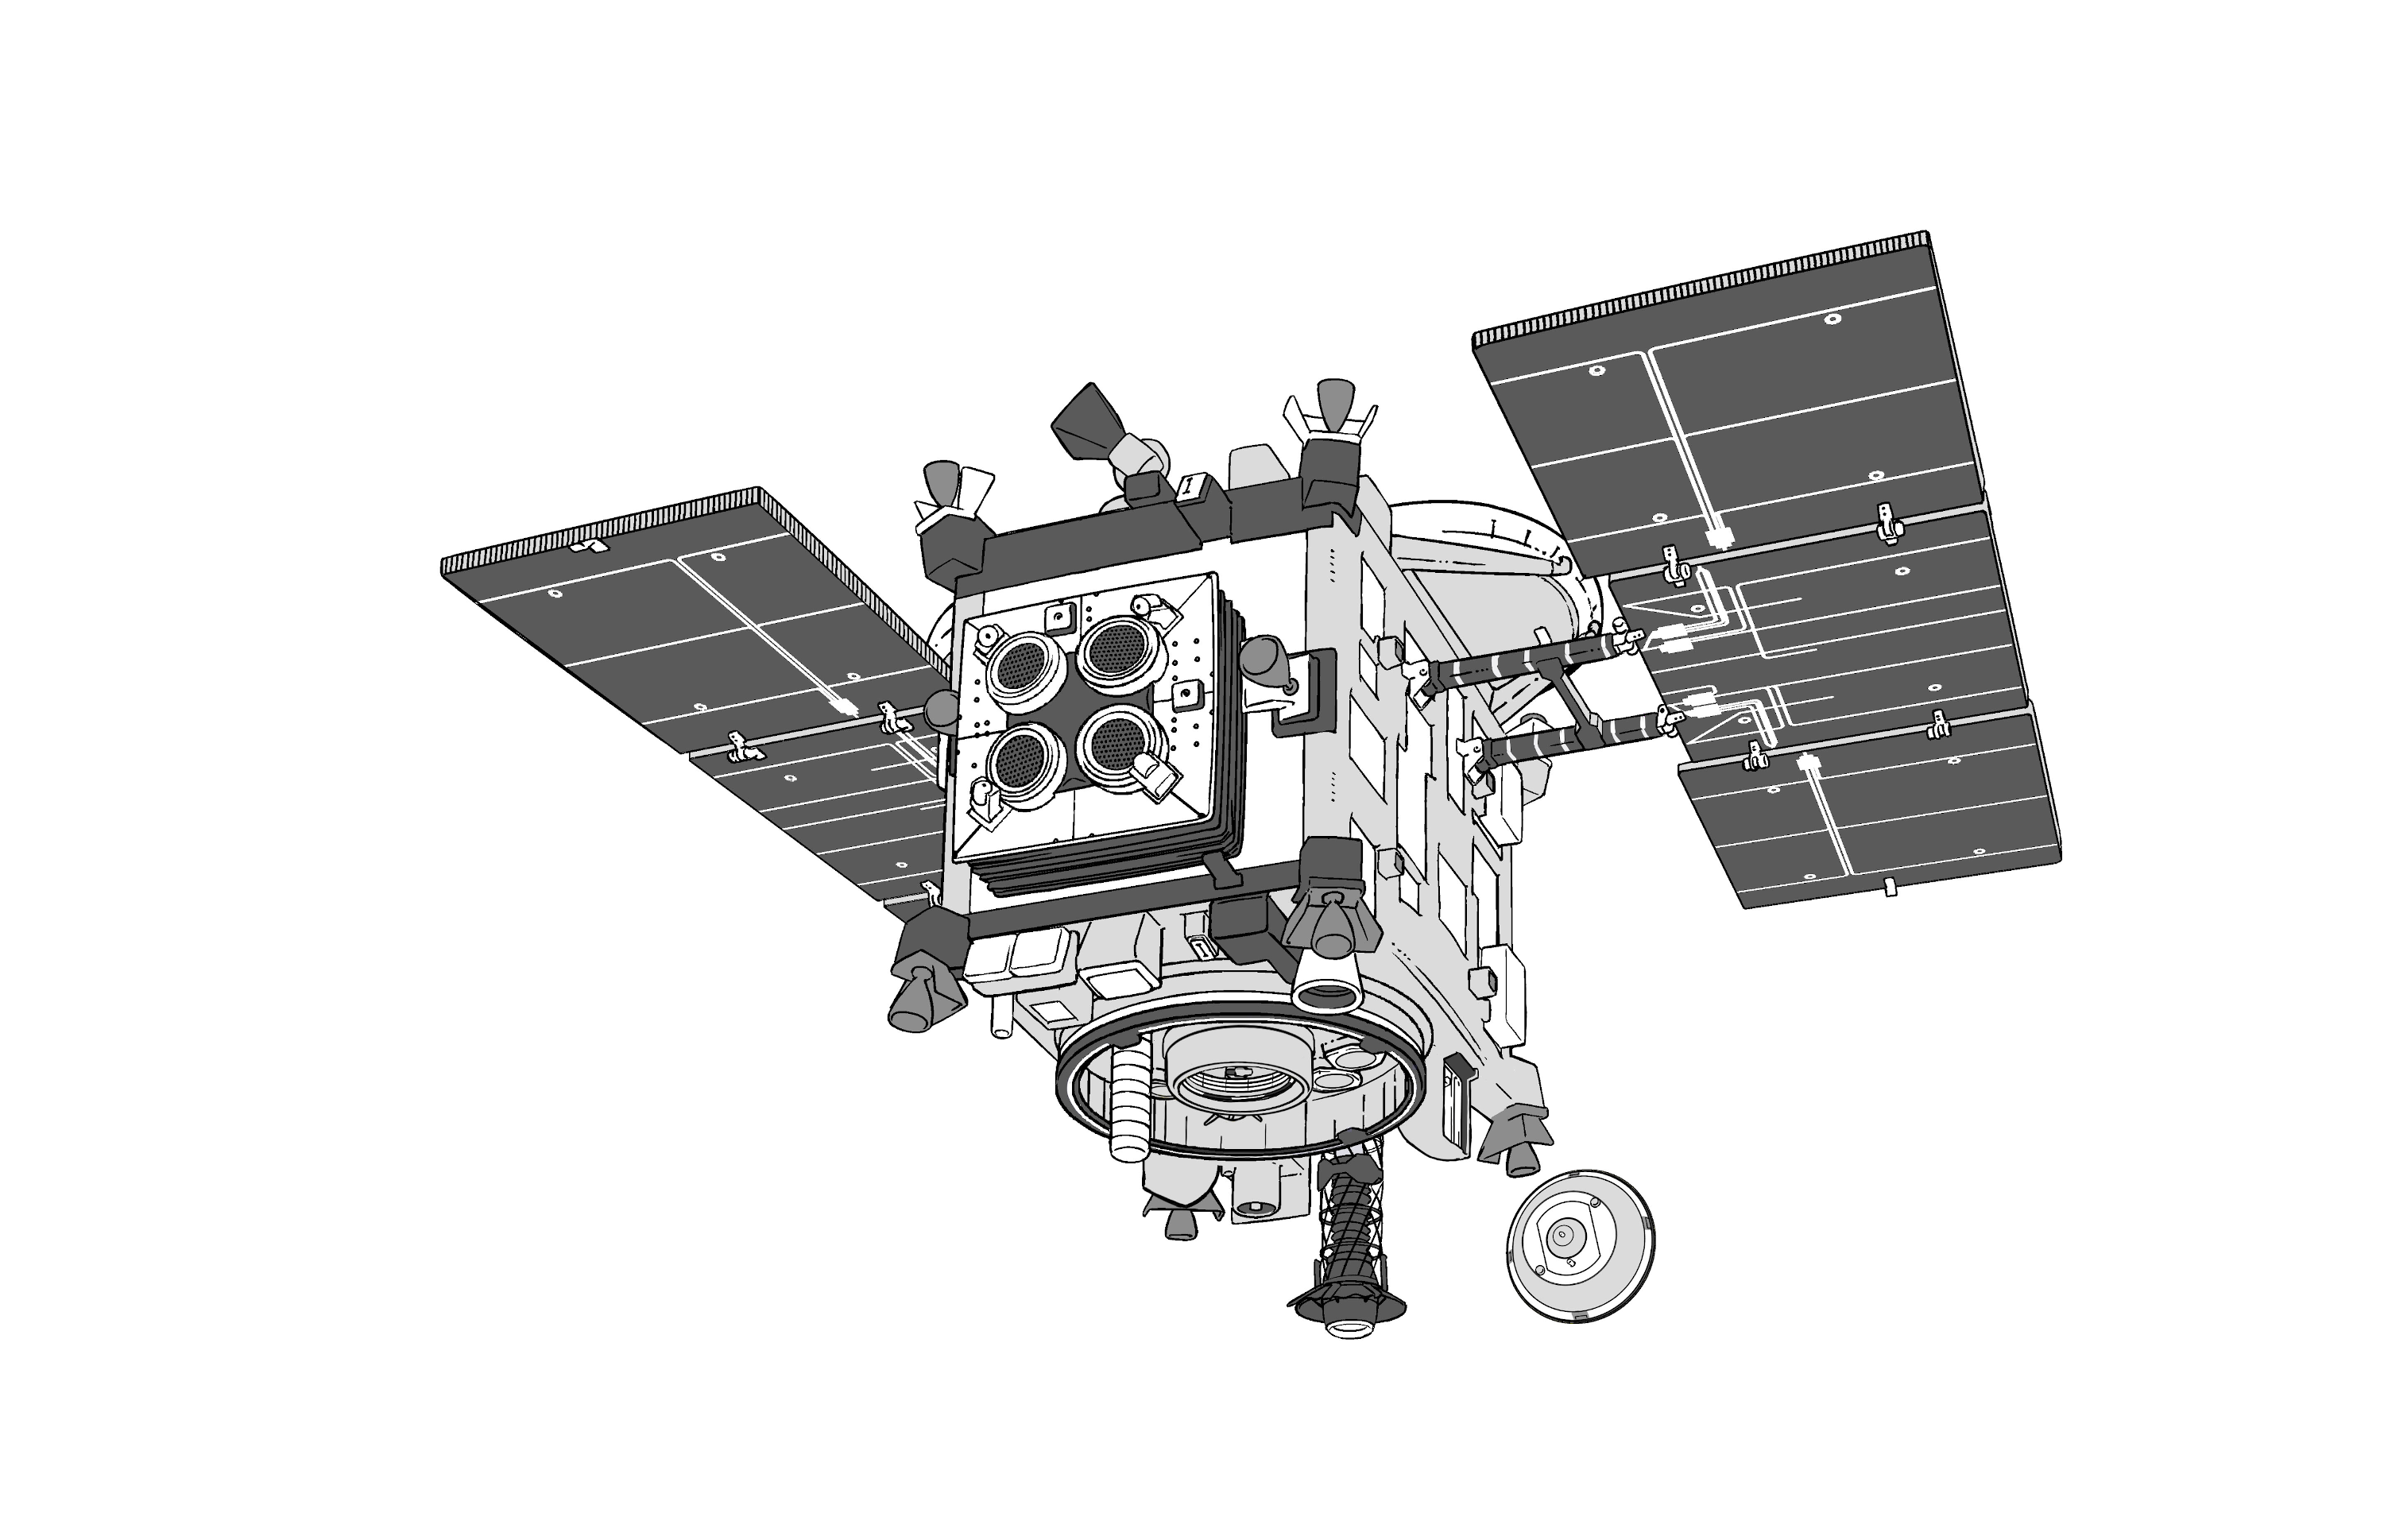
Hayabusa2 Capsule Side(Gray+shadow)

Hayabusa2 Capsule Side(Line)

Hayabusa2 Capsule Side(Large)

Hayabusa2 Capsule Side(Gray)

Hayabusa2 Ion-engine Side(Gray+shadow)

Hayabusa2 Ion-engine Side(Line)

Hayabusa2 Ion-engine Side(Large)

Hayabusa2 Ion-engine Side(Gray)

Payload(Resize)

Payload(Line)

MINERVA2-1 (Rover-1A,1B)

MINERVA2-2 (Rover-2)

Target Marker

DCAM3

SCI

MASCOT

Re-Entry Capsule

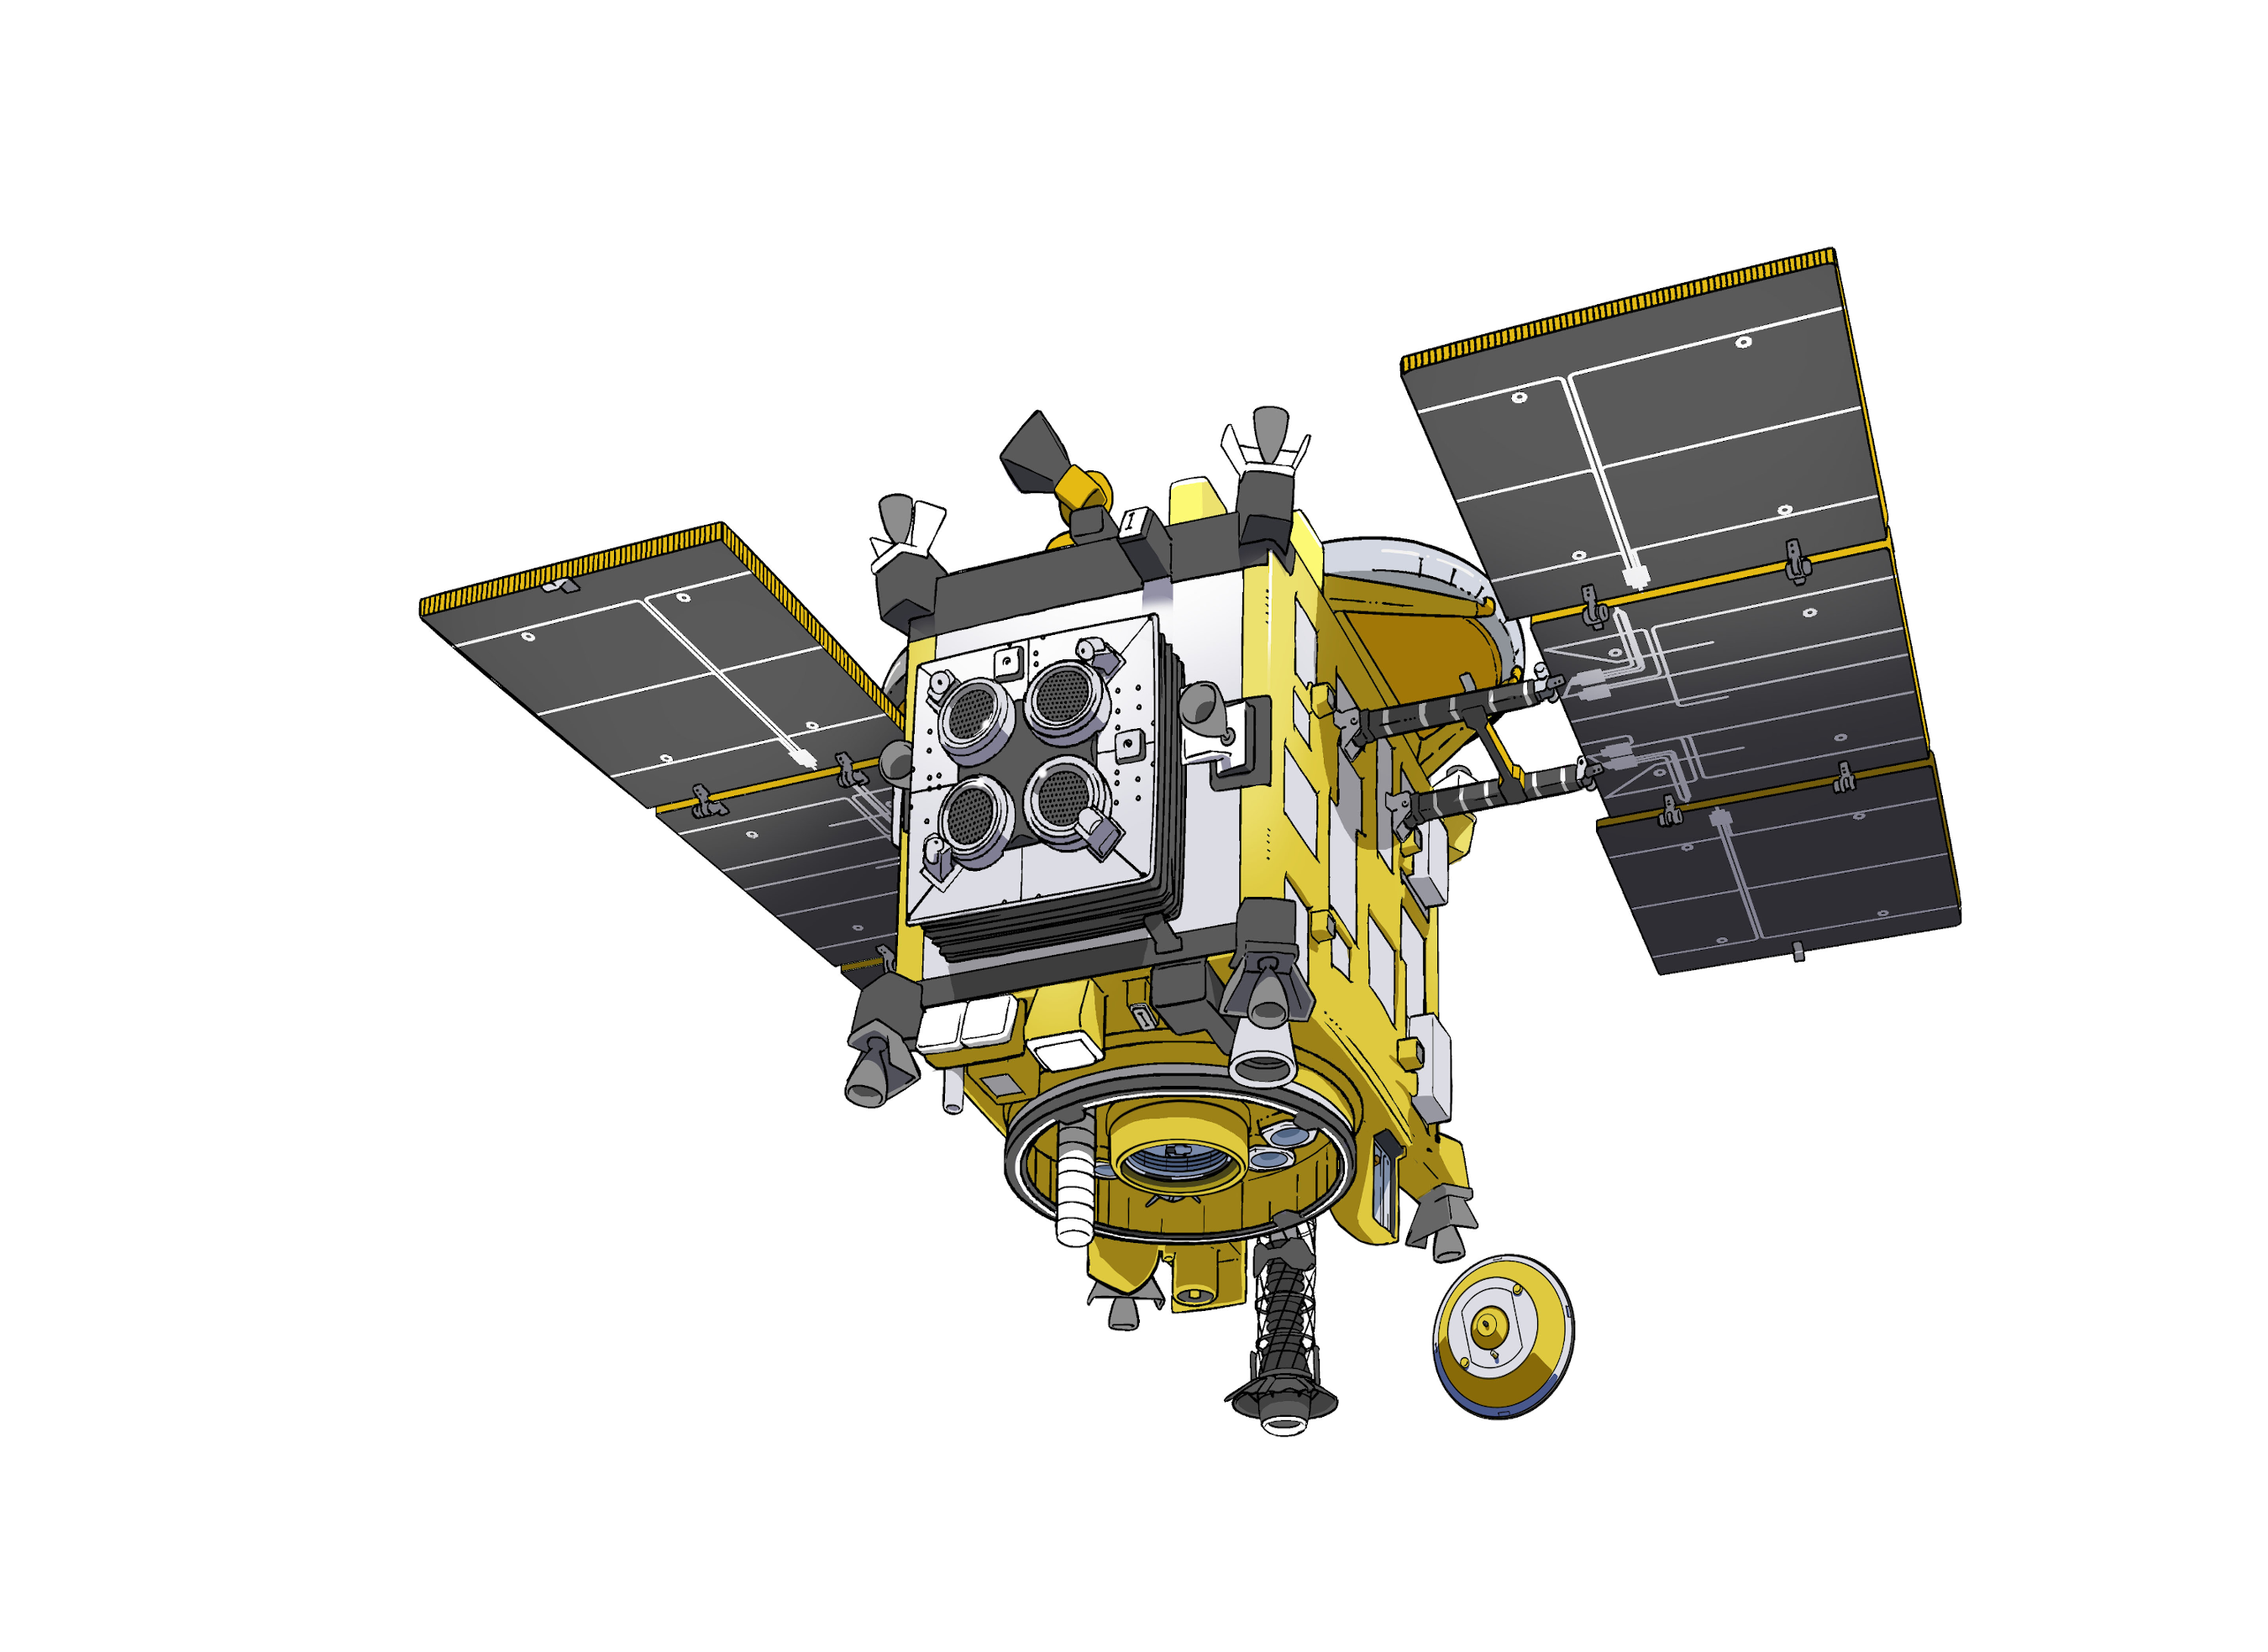
Hayabusa2 and Payload(Color)

Hayabusa2 Capsule Side(Color)

Hayabusa2 Ion-engine Side①(Color)

Hayabusa2 Ion-engine Side②(Color)

MASCOT(Color)

MINERVA2-1 (Rover-1A,1B)(Color)

MINERVA2-2 (Rover-2)(Color)

DCAM3(Color)

Target Marker(Color)

Re-Entry Capsule(Color)
・Illustrations of the spacecraft after returning to the Earth
A.png)
Capsule side (color)
.png)
Capsule side (line)
.png)
Capsule side (black and white, no shadow)
.png)
Capsule side (black and white, with shadow)
Ion engine side (color)

Ion engine side (line)
Ion engine side (black and white, no shadow)

Ion engine side (black and white, with shadow)

Ion engine side (Ion engine with light)

・Copyright of all the illustrations below belongs to JAXA(©JAXA)

Front side of Pamphlet

Capsule Side

Ion-engine Side

Bottom(-Z-side) of the Spacecraft

Back side of Pamphlet

02. Initial Checkout Complete

03. Earth Swing-by

04. Cruising for Ryugu

05. Arrival at Ryugu

06. MINERVAII Release

07. MASCOT Release

08. The First Touchdown

09. The Second Touchdown

10. Touchdown at Crater

11. Departure from Ryugu

12. Return to Earth / Capsule Release
・Successive logomark of the porject
・Copyright of all the logomarks below belongs to JAXA(©JAXA)